Jamming to your favorite playlist while behind the wheel of your car can make for an exciting road trip. However, blaring the audio system too loud with heavy bass may come at a cost.
The thing is even the best car speakers in the market can blow!
If you notice that the audio coming from your car speaker system is a little bit off or there’s no audio at all when you turn on the music, you might be dealing with a blown speaker.
Luckily, some of the issues that caused the speaker to blow are cheap to fix and can even be done without consulting a professional. Follow the guide below to know how to fix your blown car speakers!
What Causes a Car Speaker to Blow?
Before you start restoring your vehicle’s blown audio system, you must first understand the route course of the problem. Some of the main causes of a blown car speaker are as follows:
Thermal Failure
When an audio system is fed with too much power, it's susceptible to thermal failure - a phenomenon that can occur when speakers overheat. The intense heat could potentially melt the adhesive binding components together and burn wires within the speaker itself, resulting in poor sound quality or total loss of output.
Mechanical Failure
This usually comes about when the cone of the speaker is displaced. The main cause for this displacement is the incorrect set up of the speakers. If the cone is not where it’s supposed to be, other components of the speaker can collide with each other or even the frame.
This collision can easily, tear, loosen, or even break some of these components, causing the speaker to sound abnormal!
Too Much Volume
Keeping your car audio system blasting for too long can have severe consequences on the health of your speakers. If you're not careful, the intense vibrations due to an excessive volume may cause permanent damage in terms of torn speaker cones and compromised sound quality!
Low-Quality Equipment
It’s not always your actions that lead to a blown car speaker. Sometimes, the audio system may simply be too old, and normal wear and tear over time may cause some components to break down. Nevertheless, this is more common among lower quality brands.
Fixing a Blown Car Speaker
If you suspect that your car speakers might be blown, use the guide below to fix the problem:
Step 1: Inspect the Speakers
The first thing you want to do is to confirm that the speakers are indeed the problem. In some cases, it would be obvious to tell that your speakers are not working normally. For instance, if you turn on the radio but there is no sound coming from the speaker, even at top volume.
Assessing the performance of speakers can be a tricky endeavor, so it's important to take extra caution. To get an accurate evaluation, try playing some music off CD that you are familiar with—this way any abnormalities will stand out more easily.
In case of anything unusual, shaking or rattling sound, turn up the volume to check if the situation worsens. If that’s the case, then there is a high chance that your speaker’s voice coil or cone is damaged.
Step 2: Identify the Speaker that Needs Fixing
The next thing to do is to find out which speakers (right or left, front or rear) have a problem. You can do this by tweaking the fade and balance settings in the audio system to isolate the speakers and examine them more accurately. Make sure you get close to each speaker and listen carefully for any signs of "bad" sound.
If all the speakers have an issue, then you’ll have to restore them one after the other. If not, you only want to deal with the ones that have a problem. There is no need to dismount and dismantle all the speakers!
Step 3: Remove the Components
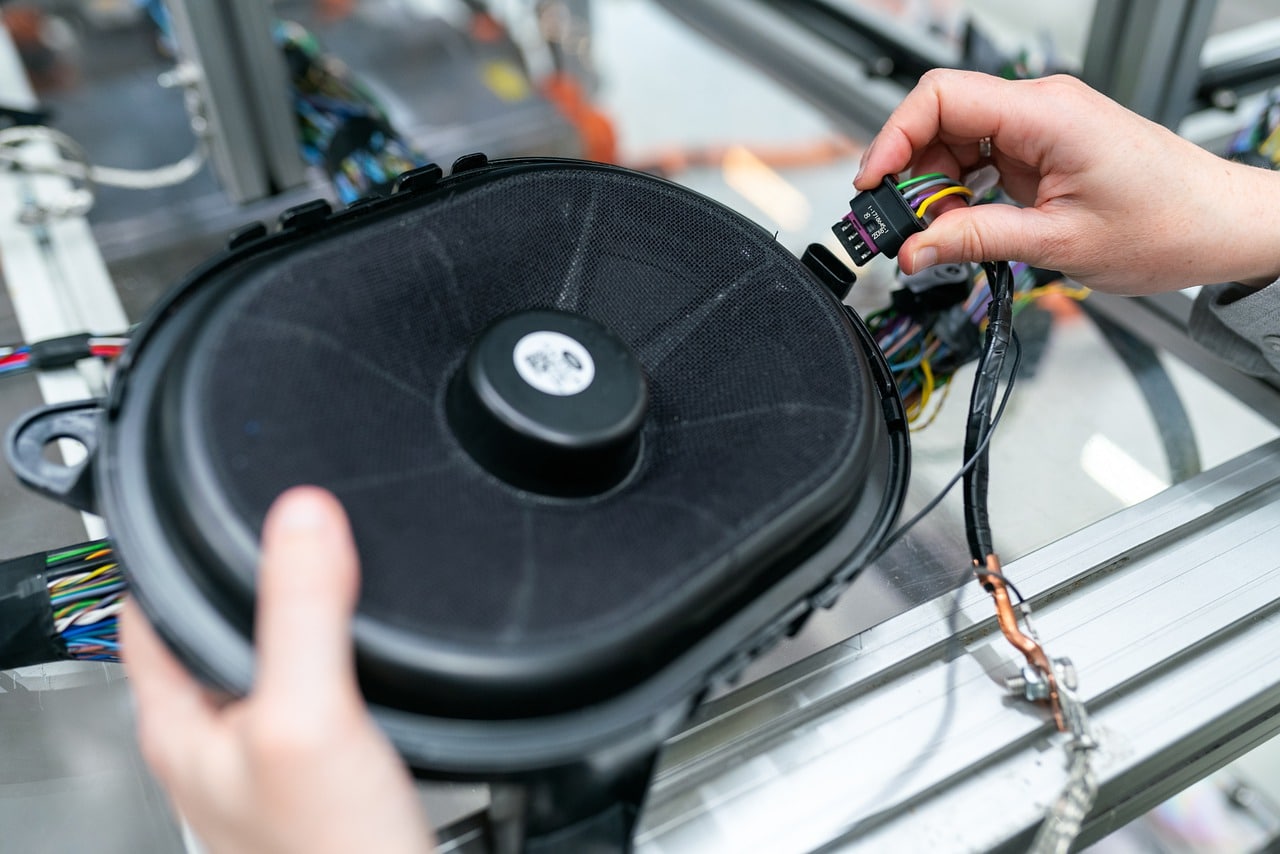
Once you have pinpointed the problem speaker, it's time to take it apart and investigate which components are out of commission. Have no fear - whether consulting your vehicle manual or taking advantage of our easy-to-follow guidelines below, we'll walk through how to safely remove the car speaker from its opening.
Utilizing a screwdriver for dismounting purposes, gently unplug the wiring harness connecting your speaker system without compromising any delicate pieces in the process!
To get rid of the surround, get a sharp knife, and cut the foam slowly around the edge of the spider (the spider refers to the yellow piece that’s placed around the magnet).
Remove the speaker cone slowly with a knife to expose the voice coil underneath. Disconnect every lead wire linking the voice coil to the terminal of the car before removing the coil. You can use a soldering iron with mild heat to do this. Finally, scrape off any remaining glue with a knife or sandpaper.
Step 4: Clean the Speaker Components
You need to get rid of all the dust, dirt, and debris lodged within the speaker to see where the problem lies. You can use compressed air to blow out all the dust. Get a clean piece of cloth and alcohol to remove all the dirt and dried glue. Do this carefully while paying attention to all the components of the speaker so that everything is thoroughly cleaned.
Step 5: Diagnose and Fix the Problem
To pinpoint the cause of your speaker issues, make sure to give it a thorough cleaning and inspection. To check for any cuts or tears in the speaker cone specifically, use caution when examining as even minor damage can affect sound quality. If you do find rips/tears then patch them up with some tape or glue — however if significant harm has been done then replacing the entire cone may be necessary.
The next component to check is the voice coil. Examine the coil to see whether it has melted. In this case, you’ll have to replace it with a new one. Luckily, this is a simple process that only requires you to replace the old coil with a new one in exactly the same spot and then plug in all the required wires.
Step 6: Reassemble the Speaker
Once you have fixed or replaced the spoiled speaker cone or voice coil, it’s now time to put everything back together. With the new voice coil in place and all the wires connected, mount the spider around it. Apply some wood glue around your new cone then place it over the voice coil, ensuring that it fits correctly.
Apply a little bit of pressure on the speaker cone and let it sit for a while for the glue to dry.
Put some glue on the gasket before mounting the speaker. Don’t forget to place a dust cap over the new voice coil. Take the intact speaker and fit it back into its opening on the car and make sure that all the wires are connected as before.
Step 7: Test the Speaker
To ensure that your speaker is restored to peak performance, you can run a simple audio test. Start with low-volume music and then increase it gradually until the sound quality remains clear - if all sounds good at higher volumes, you'll know that your issue has been resolved! Time to get back on track with banging out those favorite tunes of yours.
Step 8: Find a Mechanic
If you have taken all necessary steps to resolve the distorted sound from your vehicle speakers yet still haven't heard any improvement, there could be a larger issue at hand that may require professional help. To ensure this problem is properly identified and fixed, contact an experienced technician for further assistance.
Just go to any car repair shop in your area and find an expert you can trust. Hopefully, it’s nothing big so that you don’t end up overspending on fixing the car speakers!
NB: It is always important to protect your car speakers. One way of doing this is to avoid turning the volume too high and regularly inspecting your car speakers.
Conclusion
If you enjoy listening to music while driving, a blown-out car speaker is the last thing you want to deal with. Luckily, this is a problem that can be fixed without necessarily going to the professionals. The article above provides you with a step-to-step guide on how to fix your car speakers.
However, we cannot guarantee that your speakers will be fixed when you follow this guide. If you’ve tried everything but nothing seems to work, you can always find an experienced technician to get the job done for you!

